Top tips to improve your travel photography
As a travel photography instructor, author and tour guide, I’m often asked if I can provide some basic pointers for improving one’s skills for capturing better images while on the road, and the first thing I’ll tell people is that it’s not about the camera. In the beginning, it doesn’t matter how many megapixels your camera has or whether it’s a disposable point and shoot or an expensive D-SLR with interchangeable lenses. The idea is to learn to “see like a photographer” and to begin to notice and take advantage of unique photo opportunities wherever you might be.
It’s my opinion that 75 percent of photography is just making an effort to put yourself in the right place at the right time. The truth is that anyone can point their camera at a beautiful or interesting subject and with a bit of persistence, and a little luck, probably get a decent shot. But the trick is to go beyond the snapshot and with just a few simple considerations, take one’s photography to another level.
Photography is an art, not a science, and each of us needs to develop his or her own style, and if it means getting a better shot, that may entail breaking the “rules.”
1. Make it automatic
If you’re a beginning photographer the camera manufacturers make it very easy for you. Simply set your camera to the Auto mode and the camera will do its best to adjust to your environment, whether you’re indoors in low light, outside in the harsh mid-day sun, or shooting at night. Be aware, however, that this doesn’t always guarantee the right settings, and as you improve, I’d recommend learning how to adjust your camera’s shooting modes and settings, allowing you to be more creative.
2. Practice, practice, practice!
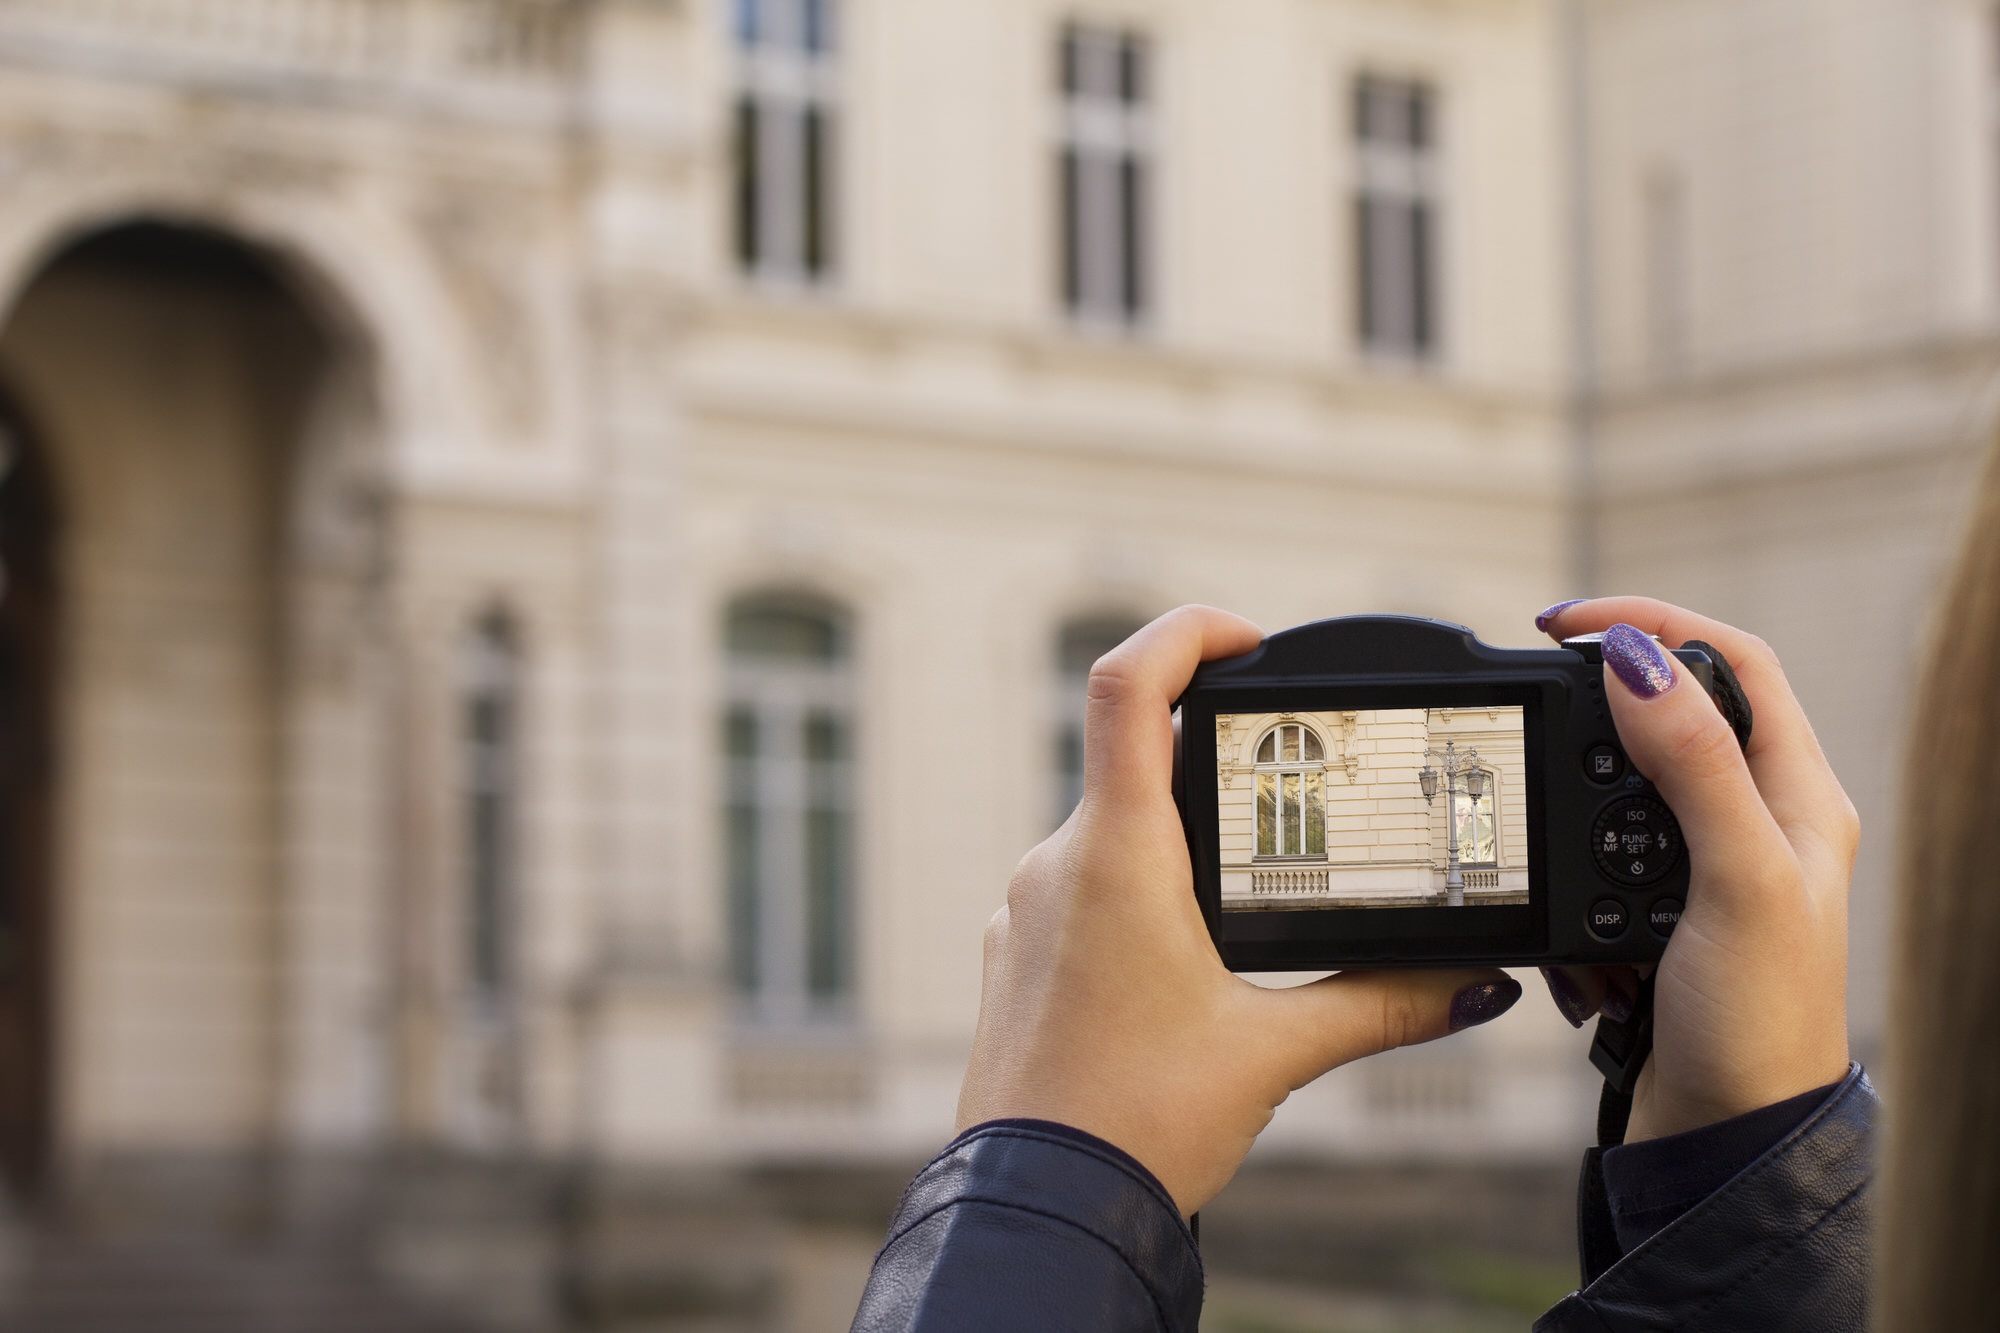
Practice before you leave on a trip, especially with new equipment. Don’t be afraid to read the manual that came with your camera and to make those inevitable mistakes close to home by being a tourist in your own city before you leave. Just as you would never bring a new, untested pair of shoes on a trip, you don’t want to travel with a new camera before experimenting and learning how to use it properly.
3. Always think about the light
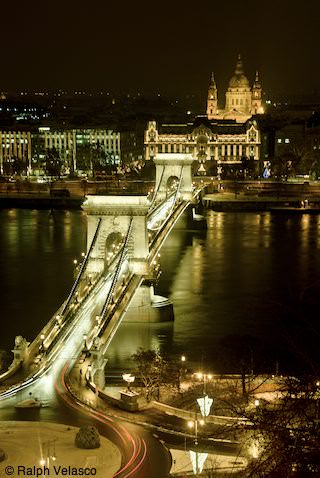
Get up early and stay out late. Try to be out during what’s called “the golden hour,” that window of time around sunrise, and before, during and just after sunset when the sun is low in the sky and it casts your subject in what I like to call “Rembrandt light.”
An additional advantage is that you’ll likely have a lot less tourists and distracting people in your images. Get up early, before the crowds, and see how the locals live. Capture people on their way to work, or the children on their way to school, and be out before the cruise ships or tour buses unload. But be careful because this can go against you, as well. Certain images with no people in them to provide human interest and scale can be extremely dull, so you have to strike a balance.

4. Embrace the weather
It’s been said, “When it comes to photography, there’s no such thing as bad weather, just varying degrees of good weather.”
Don’t stay inside when the weather shifts. Celebrate when it’s rainy, foggy, cloudy, windy or snowing outside. These conditions present a great opportunity to make unique images of what are likely “overshot” subjects. Famous and much photographed sites require extra effort in order to come up with a new approach. A picture of the Eiffel Tower on a sunny day at noon may be fine, although that’s typically the worst time of day to be out shooting because of the harsh sunlight, but how about one where it’s shrouded in a mysterious early-morning fog or is being criss-crossed by a rogue snowstorm at night? These conditions present unique photo opportunities that not every photographer will make the extra effort to capture.
5. Simplify your shots
Be careful not to put too much into a single photograph. You should have one or two main subjects in the image and that’s about it. Any more than this and your viewer won’t know where to put his eyes first and this can be confusing and make your audience uncomfortable.

6. Hold steady
Even the slightest camera movement can cause blurry photos. Ideally, and if you’re serious about your photography, use a tripod or bean bag, even in the daytime. If you don’t have a tripod and the light is low where you’re shooting, brace yourself against a stationary object like a tree or building to help keep the camera still during what will likely be a longer shutter speed. Take a deep breath and hold it as you depress the shutter release, this goes a long way towards minimizing camera shake. Also, hold the camera to your eye while keeping your elbows in close to your body to provide additional support.
7. Watch your horizons
Always be cognizant of not only the natural but also the man-made horizons in your images. It’s pretty obvious if in the sunset you’re shooting the point where the water meets the sky is not level in your image. Unless by skewing the horizon one way or the other you are purposely looking for an artistic effect, simply move the camera so that the horizon is level in your image. This can also be accomplished using other horizons as well, and by this I’m referring to the floor in a room or a window sill or the altar in a church, any vertical or horizontal reference that will give the viewer a sense of how the image should be correctly oriented ought to be taken into consideration.
8. Get around
When you can, get all around your subject, whether it’s a monument, a person, or a whole city. Attempt to shoot your subject from below, behind, or above, from non-traditional and unique angles, ones from which your viewer wouldn’t expect you to shoot.
For getting above a city, be sure to take the local cable car up the side of a mountain, or ride an elevator to the top of the tallest building, or if you’re able, hike up to the highest place you can find in order to show the city from above.
9. Always look behind you
As we walk through a market or a museum, or any other tourist attraction, we tend to look ahead and to the sides, which is natural. But I can’t tell you how many times I’ve simply turned around and noticed that there was a full moon rising behind me and I wasn’t aware of it because I was looking ahead…or there was a rainbow that wasn’t visible from the direction I was walking, but when I looked back there it was. You could potentially double your chances of getting great images if you’ll simply turn around every once in a while to visualize and capture the scene behind you.
10. Keep it handy
Keep a camera nearby at all times that it’s practical for you never know when that once-in-a-lifetime opportunity will present itself and you’ll want to be ready. I guarantee you’ll miss 100 percent of shots when you don’t have your camera with you. And be prepared by assuring that your batteries are fresh, there’s room on your memory card or on that roll of film, and that your settings are correct for the current environment.
11. Think outside the camera
There are great discoveries in the details. As you go through your daily routine when traveling, make an extra effort to notice the little things around you and to begin seeing like a photographer. Don’t spend the whole day with your eye up against the camera viewfinder, missing the world outside.
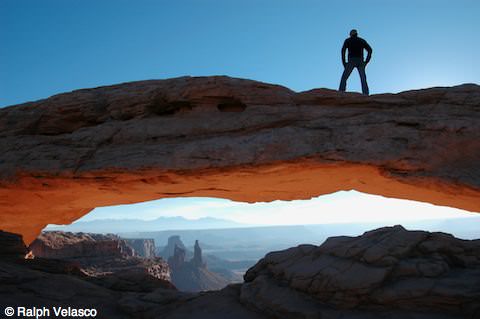
 Look for odd shadows, interesting reflections, strange patterns in nature, leading lines, silhouettes and abstract subjects, and then shoot away!
It’s important to note that successful photography is not always about getting an award-winning photograph each and every time, especially when putting together a slideshow for friends and family.
Capture images that tell a story or point out an interesting occurrence that happened to you. Take pictures of your hotel room if it was unique, or the hidden restaurant where you had that amazing meal whose name you couldn’t even begin to pronounce. Make it so the people viewing your images can get a real sense of your travel experience. Shoot with the goal of inspiring your viewers to visit the places you enjoyed.
Follow these tips to improve your photography and remember – think outside the camera!
You can find more of Ralph’s work as well as his book on travel photography here.
